


Introduction
Garden layout is not just about aesthetics in Grow a Garden—it directly determines how efficient, profitable, and scalable your farm becomes. Many players focus on crops, fertilizer, and automation, but overlook layout design, causing unnecessary downtime, wasted space, and reduced automation efficiency.
This guide shows you how to optimize your garden layout step by step. You will learn how spacing, zoning, and path planning affect productivity, how to design layouts for different stages of the game, and how advanced players restructure their gardens to support automation and long-term growth. A well-designed layout turns even average crops into high-performing producers.
1. Why Garden Layout Matters More Than You Think

Every tile in your garden has potential value. Poor layout choices create bottlenecks that slow harvesting, interrupt automation paths, and limit expansion.
An optimized layout:
- Reduces travel time for automation tools
- Prevents overlap and wasted tiles
- Improves watering and fertilizer coverage
- Makes scaling easier in later stages
Layout efficiency compounds over time, making it one of the highest-impact improvements you can make.
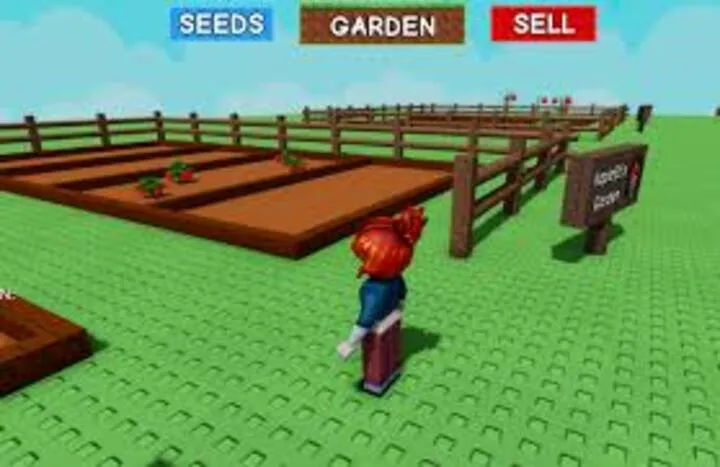
2. Understanding Tile Spacing and Crop Coverage
Different crops and systems require different spacing. Some crops benefit from tight grouping, while others need breathing room for optimal growth.
Key spacing principles:
- Dense layouts for fast, low-maintenance crops
- Wider spacing for premium or long-growth crops
- Clear buffer zones for harvesters and collectors
- Avoid diagonal gaps that break automation paths
Proper spacing maximizes usable land while maintaining smooth operation.
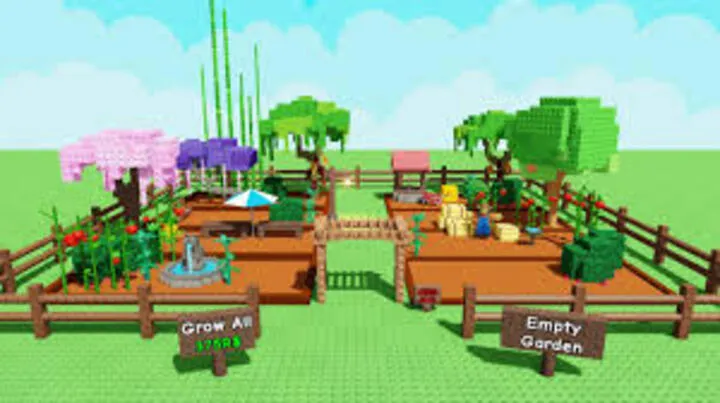
3. Zoning Your Garden for Better Control
Zoning means dividing your garden into functional areas, each with a specific role. Instead of one massive mixed plot, zoning improves efficiency and reduces mistakes.
Common zones include:
- Fast-cycle income crops
- Premium high-value crops
- Automation-heavy production zones
- Experimental or seasonal crop zones
Zoning allows you to apply different strategies, fertilizers, and automation settings without interference.
4. Path Planning for Automation Efficiency
Automation systems rely on clear, predictable paths. Poor path planning causes delays, missed harvests, and reduced output.
Effective path design:
- Straight, unobstructed routes
- Minimal turns for collectors
- Centralized access points
- Symmetrical layouts for scalability
Paths should be treated as infrastructure, not leftover space.
5. Early-Game Layouts for New Players
In early game, simplicity is key. You want layouts that are easy to manage and flexible for future upgrades.
Early-game layout tips:
- Small rectangular plots
- Central water source
- Minimal decoration
- Easy reconfiguration
Avoid overcommitting to complex designs before unlocking key systems.
6. Mid-Game Layout Adjustments for Growth
As your garden expands, your original layout may become inefficient. Mid-game is the ideal time to redesign.
Mid-game improvements include:
- Dedicated automation corridors
- Separate zones for fertilizer use
- Wider paths for advanced collectors
- Standardized plot sizes
These changes prepare your garden for heavy automation and scaling.
7. Late-Game Layouts Built Around Automation
Late-game layouts revolve entirely around automation efficiency. Manual access becomes secondary.
Late-game layout principles:
- Large uniform zones
- Full automation coverage
- Minimal manual interaction points
- Redundant paths to avoid system failure
These layouts prioritize consistency, reliability, and maximum output.
8. Layout Synergy with Soil and Fertilizer
Layout affects how soil types and fertilizer zones interact. Mixing incompatible systems reduces effectiveness.
Best practices:
- Group similar soil types together
- Align fertilizer zones with high-value crops
- Avoid crossing fertilizer boundaries
- Design layouts around soil bonuses
A layout that respects soil and fertilizer synergy multiplies efficiency.
9. Common Layout Mistakes That Hurt Efficiency
Many players unintentionally sabotage productivity through layout errors. Common mistakes include:
- Overcrowded plots
- Irregular shapes that break automation
- Excessive decoration in production zones
- Poor path visibility
- Ignoring future expansion
Fixing layout mistakes often yields immediate performance gains.
10. Redesigning Without Losing Progress
Redesigning your garden can feel risky, but it doesn’t have to be. Smart players redesign in phases.
Safe redesign strategies:
- Move one zone at a time
- Redesign during low-demand seasons
- Use temporary plots during transition
- Test layouts before full deployment
Careful redesign preserves income while improving long-term efficiency.
Conclusion
Optimizing your garden layout in Grow a Garden is one of the smartest investments you can make. By planning spacing, zoning crops, designing efficient paths, and aligning layout with automation, soil, and fertilizer systems, you unlock higher productivity without increasing workload. A strong layout supports every other strategy in the game and ensures your garden can grow smoothly from early game to late game dominance.